I shot in five cities while on the Sandy Puc’ tour: Chicago, Grand Rapids, Detroit, Columbus, and Cleveland. In each area I showed people how to shoot images that don’t need retouching.
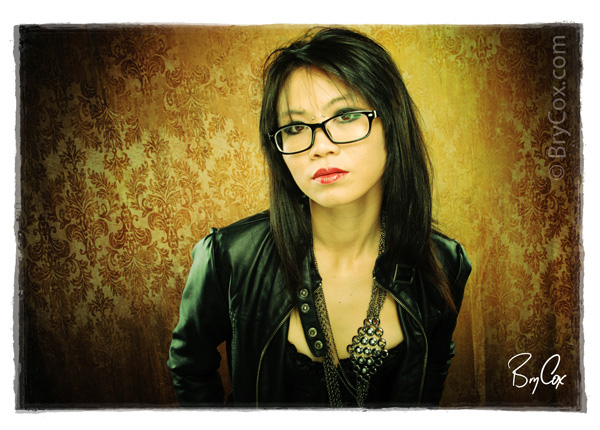
Here are some of the images I created in those cities. All of these images have no retouching, no skin effect smoothing, no brightness adjustments, and no color temperature correction.
I did however use my computer time as an investment into my pretend sale rather than using it to correct problems. That means I used some of my products found here in the store to create some unique effects. I did all work, including downloading and picking images, and adding edges and other effects right in front of the crowd. Everything was done in minutes.
The majority of products that I used here were my Power Pack Actions, Edgy Edges, and Swag Bag Texture Overlays. I also used my Contessa Fleur Collection and my Auto-Paint Brushes for Photoshop.
You may also want to referrence two articles as well to understand my particular workflow or rather, how to take the “work” out of “workflow.”
- 3 steps to lighting women so well that they don’t need retouching, and
- 3 steps to a perfect exposure and perfect white balance so that you don’t have to adjust anything later.


Hopefully between seeing me speak, seeing these images created in front of you, viewing them here, and reading the articles that I linked above, you’ll really understand how I’m creating such interesting images without any extra post-production work.
My system is to do everything I can in camera so that I don’t have to do anything in Lightroom. Then I do everything in Lightroom so that I don’t have to do anything in Photoshop. Then I use my Photoshop time for fun. This really is how you take the “work” out of “workflow.”
Good luck and Happy Shooting!