
(UPDATED: Video and article are now combined.)
DNG is a type of RAW file. But why use it? When I’m speaking at seminars and workshops and talk of using the DNG format instead of your camera proprietary RAW format, I get a ton of questions. In fact I get so many questions that I decided to make this my next article.
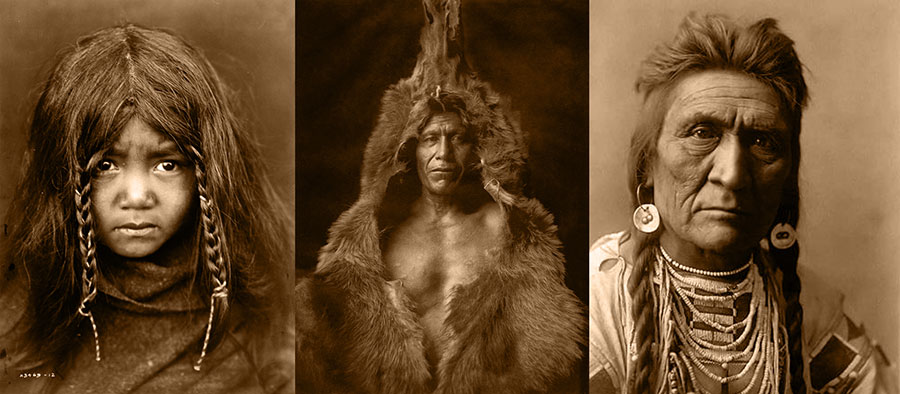
I love the Edward S. Curtis photographs of the American Indians created in the west on glass negatives during the early 1900s. Besides having all his books, I’ve personally seen original Edward Curtis prints, contact sheets, and glass negatives. They are gorgeous and priceless, and because the negatives exist, new prints can be made today.
However, prints cannot be made with some digital files created in the 1990’s. Why? Because they are in a file format that no one can read anymore. The software, operating systems, and computers used at that time are obsolete. The engineers that understood and created those specific RAW formats either don’t work there anymore, or the companies just don’t have an incentive to go back and decipher the old files. They’re on to other things.
This is a problem. We can print images created in 1906, but we can’t print some images created 90 years later! As photographers and artists, we want to ensure that the images we create, can be printed and opened in the future and not lost forever.
Maybe you’re telling yourself, “but everybody shoots my camera, and my camera company is big and will never go away.” Coincidentally we used to say that about our favorite film companies 15 years ago. Every convention hall was painted yellow or green with banners and signs from Kodak or Fuji. But over the last two years, Fuji didn’t even have a booth at the national PPA convention, and Kodak filed for bankruptcy last month. We never thought those companies would ever go away, but now the tradeshows are decorated with completely different colors and banners of the new big companies.
What all this means is that we do not want to be beholden to outside forces in order to open and print a photograph down the road. We don’t want to be beholden to a company staying in business, we don’t’ want to have to keep our old computers running with obsolete operating systems and programs 20 years down the road. What we really need is to archive our images in an “Open Source” format, the way a negative is open source.
Some of you may also argue to yourself, “I’m fine. I convert all my RAWs to JPGs.” That’s like saying, “I made prints from my negatives, so I don’t need the negatives anymore.” A JPG is a small amount of information (much like paper), where a RAW file is all the information (much like a negative). And a JPG as common as it is, is still a proprietary format that a company owns. Software companies must buy the use of that format from the owner.
RAW is much different. RAW does not mean a certain and known format like TIFF or JPG. It is instead a proprietary format that is different from company to company (Nikon is different than Canon), and from camera model to camera model. Each new camera model gets a new file format, and we just call them all RAW. But the ability to open one does not mean you can open another. In other words there are hundreds if not thousands of RAW “formats.”
To solve this problem, Adobe has created an open source RAW format and has given it to the photographic community for free. Anyone can use it without permission. The information about the file is open and published and it is and can be used by anyone along the chain: photographers, camera companies, software developers, …anyone!
It has some specific advantages. It’s still a RAW file so it retains all of the information that a camera captures, but it is open. Second, software can write to the metadata without changing the file. This means no more need of sidecar (.xmp) files. Entire adjustments and history states can be written to the metadata without affecting the actual image. And finally, they are a bit smaller than many proprietary camera raw files. I’ve noticed about 20% smaller for my particular files.
So how do we use them? If you use an Adobe® Lightroom® workflow (which I believe is the fastest, most powerful, and most efficient), you can convert right in your import dialog box. As I import my RAWs, I have Lightroom® convert to DNG, rename, add keywords, add my contact info in the metadata, and save these new DNG RAW copies in a new folder. When the import is complete, I have no need for my old camera raw files anymore. I now have better DNGs to work from.

If you don’t use Lightroom® yet, your Photoshop® install disk comes with a separate program for batch conversion of RAWs to DNG, though doing it at import with Lightroom® is much more efficient.
If you’d like to know more about my quick and efficient Lightroom® workflow system, you can view my Lightroom video course for photographers right here where I will walk you through step by step, or you can attend one of my workshops and/or pick up my Lightroom® workflow tutorial DVD from the online store.