Article Part 1 | 2 | 3 | 4
In part 1 of this series, we nailed our color and exposure in camera. In part 2 we added light direction, controlling that direction with reflectors. The next step is to add additional light so that we can photograph people in any spot, regardless of the available ambient light. That frees us to shoot anywhere, rather than always being stuck in the shade.
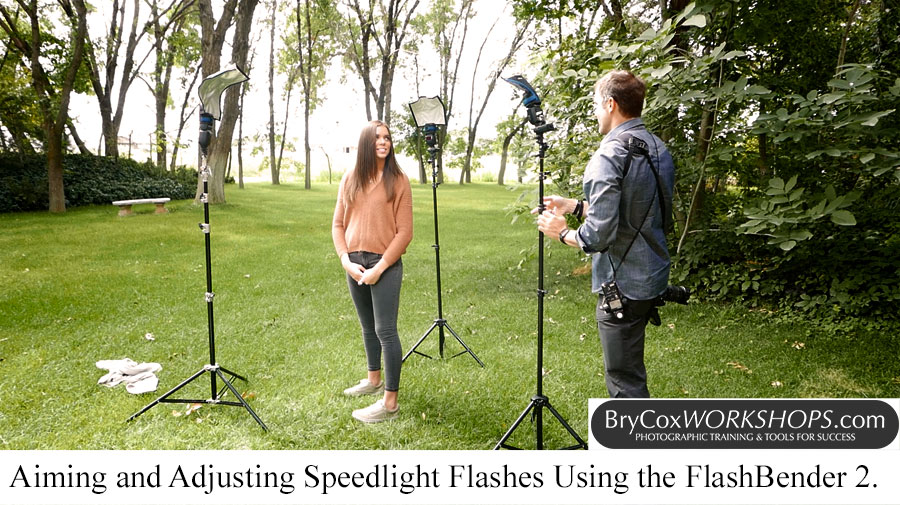
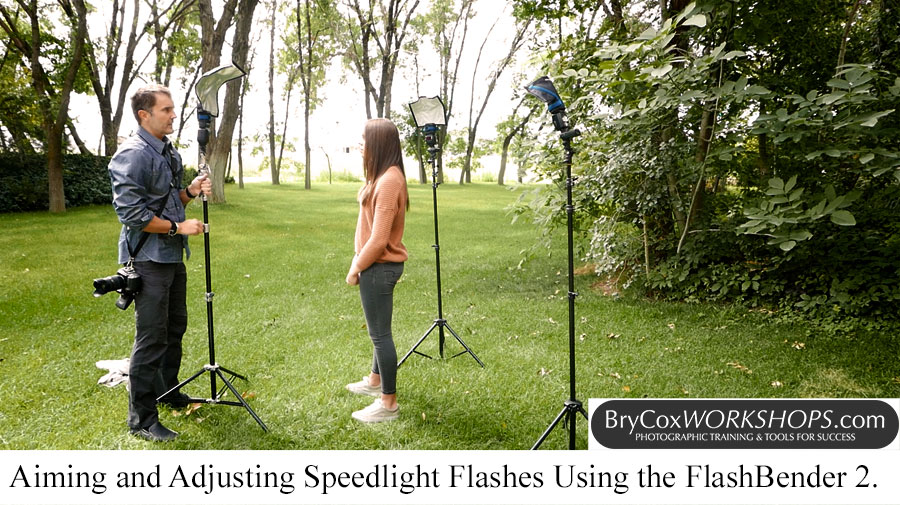
Adding light with a flash on location often means using speedlights because they’re small and versatile. But a small light source will create a harsh look. One great way to enlarge and soften the flash is with these Rogue FlashBenders. They’re small, fit easily into your bag, but they work wonders. See how and why I use them in this video.
Again, all of these sample images are un-retouched, and have had no adjustments. Also, all flashes and camera controls are on manual. No TTL, no Auto anything. The only thing we’re changing is the quality of the light (how soft or sharp the light is) by adding the FlashBender 2.
In the video we talk about correct lighting angles and how to use these FlashBenders. And here is the before image I talk about with no FlashBender. Yes, I’m using the correct angle for her eyes, but the shadow lines are sharp.

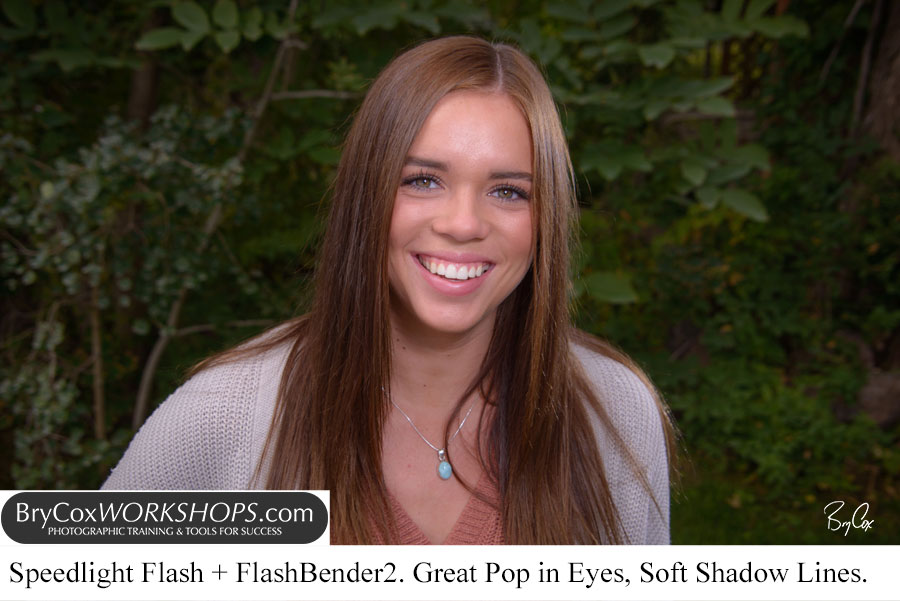
Sometimes I may want that harsher look, but more often I want softer light on people. I can use one or even more FlashBenders on various lights to achieve this look. Here I’m using three on different flashes. I have the largest one (XL) on my main light. The smaller ones are on my edge lights.
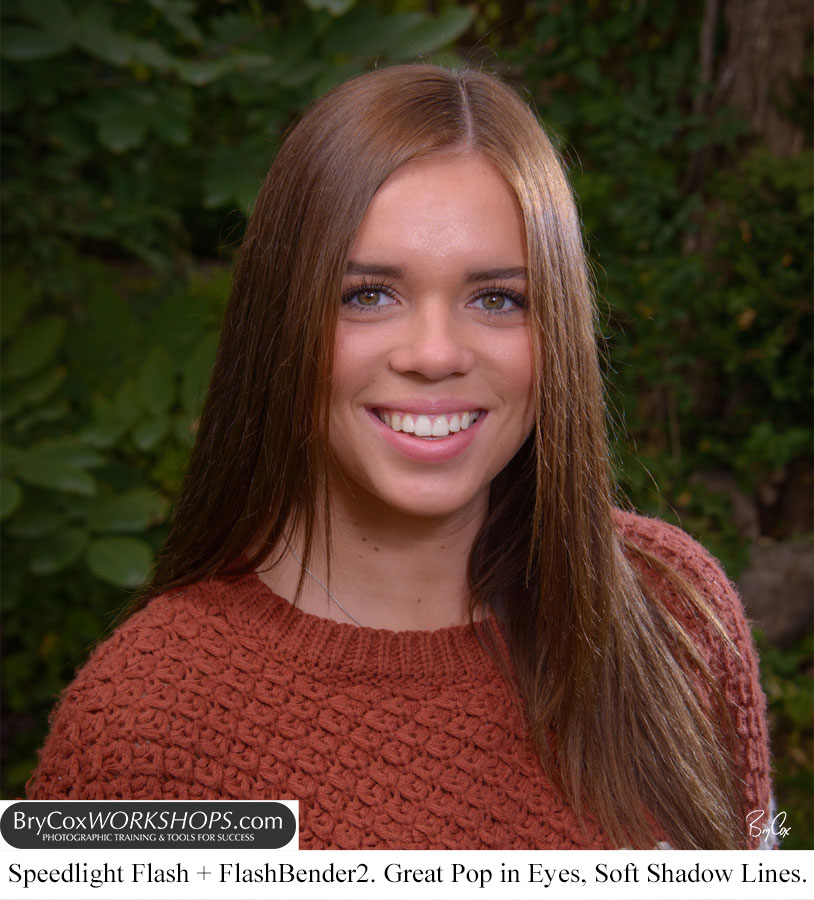
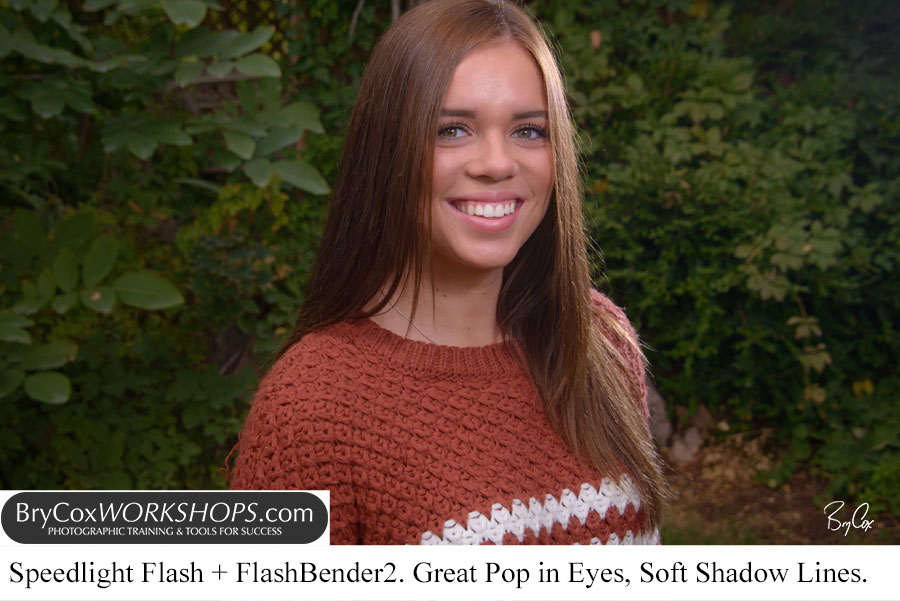
Notice how the shadow has been softened. The shadow line under the chin is soft and the shadow/transition lines around the face are soft. As shown in the video, we’re still doing the same thing in terms of angle to make her eyes and skin pop, but the entire image is more appealing. My extra lights from the side create a really beautiful edge light to her hair, making the entire image feel more dimensional. This is a vast improvement over the image in part 1 of the series shot with natural light on auto. That image was flat, dull, and “muddy.”
These new images with a soft flash are vibrant and lifelike. Even before retouching, these images look great. Her eyes sparkle with her smile, her skin tones are right on the money, her face is sculpted from the correct lighting angle, and the whole image has life to it because of the 3-dimentional feel created by great lighting and manual controls.
There are even more photos from this shoot in the video, but the big point is to take control of your light, and shoot fewer but better images with more control. In just a few shots, we have fantastic smiles with perfect light. I can better focus on my client and her expression because I don’t have to worry about technical details. I know my light is great.
More Detailed Learning
- To understand how lighting and flash work compared to natural light, and some of the tricks to use flash better, watch this free video called the 3-Fs.
- All of the info in this series just scratches the surface on lighting people. If you want more in-depth learning, check out my 3 hour course called Lighting Like a Master. From that course, you’ll be able to rock lighting anywhere, in studio, on location, and with any gear – day or night too.
One More Article In This Series
We’ve come a long way in this video article series. And there is one more on adding creativity with gels that I know you’ll love.
And until next time, America.